Showing posts with label Momofuku. Show all posts

Monday, September 17, 2012

Spicy Pork Sausage & Rice Cakes (Momofuku)

  • 1/2 cup grapeseed or other neutral oil
  • 3 large yellow onions, cut in half and thinly sliced
  • 2 1/2 teaspoons kosher salt
  • 1 pound ground pork
  • 2 very loosely packed cups (1 1/2 ounces) dried red chiles
  • 2 garlic cloves, thinly sliced
  • 2 tablespoons toban djan (jarred Chinese fermented bean and chile sauce) or ssamjang (the Korean analogue to toban djan)
  • 1 tablespoon Sichuan peppercorns
  • 1 tablespoon kochukaru (Korean chile powder)
  • 6 tablespoons waters
  • 1 tablespoon usukuchi (light soy sauce)
  • 1 tablespoon sugar
  • 2 cups sliced or coarsely chopped Chinese vegetables, such as Chines broccoli or bok choy
  • 8 long cylindrical rice sticks, cut into 1-inch lengths [I found these rice cake at about that size already, but they were cinched in the middle.  I remember actually having it at Momofuku and their way is definitely an improvement]
  • 8 ounces silken tofu, drained
  • 1 cup sliced scallions, greens and whites
  • 1/2 cup packaged Chinese fried shallots [All the varieties at C-Mart were labelled as "Red Onions"

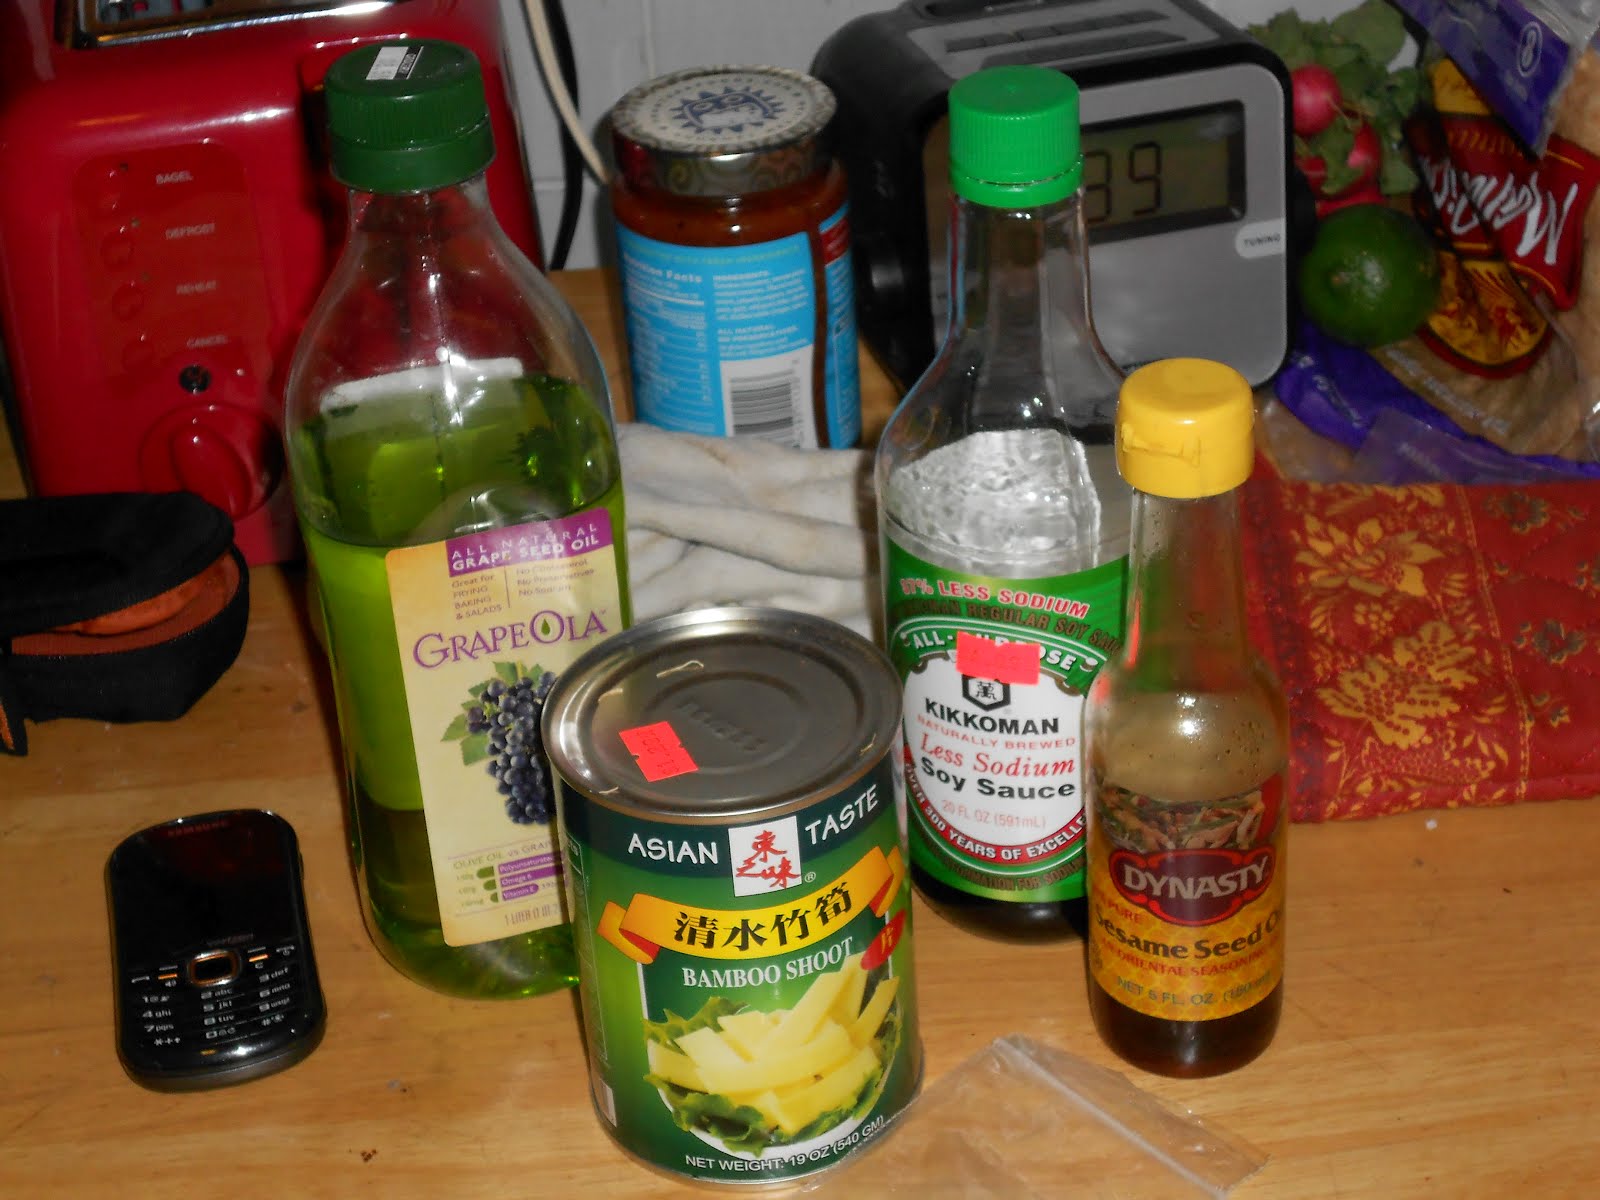
Mise en place.

Caramelize onions for 30 minutes.

Raw ground pork over medium-high heat.

Jab at meat with edge of spoon just until it loses its pinkness.

Heat chiles and dried garlic until fragrant.

Stir in chile bean sauce, Sichuan peppercorns, and kochukaru.

Stir in chopped greens and cooked until stem are just tender.

Whisk silken tofu until creamy.


I don't quite remember having this at Momofuku being quite as big a pain to eat with pulling out the fragments of chile and accidentally chewing on one way too often.
I've found that processed rice noodles really do not hold up as leftovers and the dish was basically inedible by the third day.   I admit the dish has personality but its not suited to my needs.

Tuesday, May 22, 2012

Chicharones

When I roasted the pork belly in my Ramen entry, I wound up throwing out the skin I removed from the belly. I knew that I had an opportunity to make these for the event, but the hours were wearing on me in the kitchen and I didn't have the time to do all this.
I've largely stuck to the recipe in the Momofuku cookbook, but I didn't want to buy a food dehydrator just for this project when I could just set them in a low oven for three hours. Sorry, I'll wait for some other project to urge me along into buying one.
Hmm, the URL I used seems to have gone dead, but I'm pretty sure I had the pork rinds in the oven at about 250 degrees F for 3 hours. No, I didn't totally fail, David Chang.


Throw the pork belly in a pot and fill it nearly to the brim with cold water. Bring to a boil and boil hard for 1 1/2 hours.


At that point the water will look like this.


Draining them a bit. Notice that this process totally didn't remove the fat, but I assume this makes the next step easier.


One must remove all the fat from the pork belly or "they'll have the texture of soggy packing peanuts if fried." I think I had a few patches of fat, but I did make a good attempt and was fine.
Imagine scraping that down raw? Sounds gross and hard to do, but in my googling I didn't see another example of this technique.


Laid out and sprinkled with a little salt.


Three hours later. See the patches of fat? Overall though, good job.


Heating the fat to 390-400 degrees F.


And then you have chicharones. I think I enjoy ones made out of chicken skin better. Or maybe I should have gone ahead with Latin flavors (ground dried chipotle, lime, salt) rather than Asian (togarishi, a Japanese chili blend, and salt).
I suppose I'll figure that out next time.

Wednesday, April 25, 2012

Ramen! 2.3: Day 3 Prep

Slow-Poached Eggs
Basically you take the largest pot you own, fill it up with water, and bring that water to 140 degrees Fahrenheit over the lowest possible heat. That's going to take the better part of a hour.
You rig up a steamer rack or "a doughnut of aluminum foil or a few chopsticks scattered helter skelter across the bottom of the pan." The goal is to keep the eggs from the bottom of the pan where the heat will be decidedly above the temperature you're aiming for. Using the largest pot of the pan also helps to ensure that the eggs are most likely cooking at 140 degrees F since the water at the top will be cooler than the water in the middle.
In any case, once you get this all set up, the eggs will poach in about 40 minutes. If you're looking to poach a lot of eggs, this is way easier than the traditional method (which, for the record, I have yet to attempt). Also, it's pretty damn dramatic looking to crack what looks like a raw egg into a bowl of ramen, bibimbap, or what have you. They've been cooking eggs this way in Japan for eons when old ladies would bring eggs to cook in natural hot springs.

Seasonal Vegetables
Though they'll prep English or shelling peas in spring and early summer and cut corn off the cobs in late summer, Momofuku Noodle Bar adds collards to their ramen the rest of the year. When I eat BBQ (mostly at Redbones in Davis Square), I must have collard greens (succotash occupies a very close second-place in my heart). I've never cooked them before and I can say that David Chang's recipe totally hits the spot.
  • 1 bunch collards
  • 1 piece bacon (Frankly, I think an additional piece of bacon was required. Thankfully, there was rendered pork fat from roasting the pork belly on hand to make up for the collards' lack of oomph.)
  • large pinch kosher salt
  • 1 tablespoon soy sauce
  • 1 tablespoon brown sugar ("white is fine if you don't have brown")
  • 1 tablespoon sherry vinegar
  • 1 cup water

Collards tossed in the rendered fat and wilted a bit.


Forty minutes later on medium-low. Yum.

There was the prepping of individual bowls of ramen as I finally got everything set up. But eventually I got to kick back, relax, and gorge myself on my own serving of this extremely laborious process. Never again will I spend 2 1/2 long days making this dish (Far easier and more reasonable to take the Fung Wah to NYC and eat ramen in numerous restaurants across at least Downtown, Midtown, and Brooklyn).
I'll never make this again, but perhaps I'll spend a similarly long-assed, involved time cooking something else. Though really I'm not quite sure what.

Monday, April 23, 2012

RAMEN! 2.2: Day 2 Prep

As I wait for my pictures to upload onto blogger for this entry, I may as well provide for you the one recipe everyone kept asking me for on Ramen Day (why not make it a proper noun by now): Pickled Shiitakes.
I made these as a relatively smart way of using up the shiitakes I had reconstituted while making Ramen Broth the night before. I assumed I wouldn't be able to utilize and eat them all myself so I decided to execute Momofuku's recipe. People loved them. I think they're fine, but I passed off the rest to my parents a few days ago.


Pickled Shiitakes

  • 4 loosely packed cups (about 1/3 ounce) dried shiitake mushrooms or use spent shiitake caps from the Ramen Broth)
  • 1 cup sugar
  • 1 cup usukuchi (light soy sauce)
  • 1 cup sherry vinegar
  • Two 3-inch knobs of fresh ginger, peeled
  1. Steep the shiitakes in boiling water (or really hot tap water) in a medium mixing bowl until softened, about 15 minutes.
  2. Lift the shiitakes from the steeping water, trim off and discard their stems, and cut the caps into 1/2-inch-thick slices. Reserve 2 cups of the steeping liquid, and pass it through a fine-mesh strainer to remove any sand or debris.
  3. Combine the reserved steeping liquid, the sugar, soy sauce, vinegar, ginger, and sliced shiitakes in a saucepan. Turn the heat to medium, bring to a simmer, and simmer gently (bubbles should lazily rise up to the surface), stirring occasionally, for 30 minutes. Let cool.
  4. Discard the ginger, and pack the shittakes (and as much of the liquid as necessary to cover them) into a quart container. These pickles are ready to eat immediately and will keep, refrigerated, for at least 1 month.
 

Pork Shoulder
  • 1 3-pound piece boneless pork shoulder
  • 1/4 cup kosher salt
  • 1/4 cup sugar

Cure for at least six and no more than 24 hours. Assumed I wasn't risking much by putting off curing until the broth was really chugging along.


Ready to roast at 250 degrees F for 6 hours.


Two hours in. Lots of juices to baste with.


The results after 6 hours. Eventually the juices developed into fond and I started de-glazing and basting with mirin.


Got the plan clean enough through some lengthy de-glazing. Nothing compared to final de-glaze that appeared to take me like a hour. More on that later.

Pork Belly
  • 1 3-pound slab skinless pork belly (God damn you, Whole Foods butchers. Couldn't I have had a whole 3-pound slab?)
  • 1/4 cup kosher salt
  • 1/4 cup sugar

Perhaps they would have skinned it for me if I asked, but hell, it's an experience. I also realized I had the potential to make
But not if that entailed staying up until dawn again. Perhaps when I try my hand at making bacon I'll bother to do so.


Skinned pork belly. it would've been so much more bad-ass if it was just one big slab.
I lightly cut my left pointer finger in the transaction, but washed up with anti-bacterial soap and slapped on some latex gloves.


Thirty minutes at 450 degrees F.


Another 30 minutes at 450 degrees F.


One hour to 1 hour 15 minutes at 250 degrees F. Look at all that golden jelly.


The state my quarter-sheet cake pan is now in. Sigh.

Bamboo Shoots
  • One 12-ounce can sliced bamboo shoots
  • Splashes of grapeseed and Asian sesame oils
  • Splash of usukuchi (light soy sauce)
  • 1 Pickled Chile, if you've got it, seeded and chopped
  • Salt, possibly

Mise en place.

Day 2 Prep list. Time for bed.

Sunday, April 22, 2012

RAMEN! 2.1: Day 1 Prep


One-page prep and 2-page grocery lists written out before heading out to shop.
How else am I supposed to keep track of what I need to buy and what I need to do in what amount of time?  The usual way of my mini-Rhodia notebook and "Hey!  Just the cookbook." is not going to cut it here.


Prep list on its lonesome.

Ramen Broth
  • 2 3-by-6-inch pieces konbu (Konbu certainly doesn't look 3-inches wide dried as I will later show you, but I think David Chang just wants you to use two pieces.)
  • 6 quarts water
  • 2 cups dried shitakes, rinsed
  • 4 pounds chicken, either a whole bird or legs (I'm too lazy to practice breaking down a chicken every once and a while, so I went with the legs.)
  • 5 pounds meaty pork bones
  • 1 pound smokey bacon, preferably Benton's (Benton's is arguably the smokiest bacon on the market. Since I can't afford to be so exhaustively foodie as to purchase mail-order bacon, I used Savenor's Double-Smoked Bacon; still not cheap at $12.99 but much better than what I would have had to shell out for Benton's.)
  • 1 bunch scallions
  • 1 medium onion, cut in half
  • 2 large carrots, peeled and roughly chopped
  • TarĂ©, preferably, or kosher salt, soy sauce, and mirin (I'll repeat here again that I didn't take the easy way out. A good thing since I let the broth over-reduce. Oh well.)

Mise en place.


As I mentioned earlier, I wasn't sure how much konbu to steep in the broth's initial step since the dried pieces were so narrow. Perhaps if I had thought about this through more I would have come to the conclusion to use 2 pieces instead of 4, but I did pull two out after they reached their unfurled state.
David Chang says that at Momofuku they use the konbu in dishes such as Grilled Octopus Salad, but honestly, I wasn't going to run out and buy Octopus and then execute that.


Simmering 2 cups of dried shitakes in the konbu-infused broth for 30 minutes. I'm perpetually led to ordering dishes with dried black mushrooms in Chinese restaurants, but I rarely cook with them. So sad.


Pork bones all laid out and ready to be popped in the oven.


30 minutes at 400 degrees F.


Bacon taking a bath in the broth that had been further infused with chicken legs for an hour. Once I ditched the bacon (after 45 minutes) and added the pork bones, I was finally able to escape the house and narrowly get to Blanchard's in time to pick up a bottle of sake in order to execute the taré while making the broth.
I would've been so pissed at myself if I hadn't been able to pick up that ingredient. Particularly since I had to be up until nearly 7 AM tending to the broth.


Adding the vegetables for the final 45 minutes.


Straining the broth through cheesecloth.


Strained broth, and OH YEAH, I get to go to bed now. Good night, Sun.
Yeah, I know I didn't get to five quarts. Should have been less stupid when it came to adding water.


The congealed fat on top of the broth when I eventually woke up Friday after. Probably not quite past 4 PM.


Yummers.


About 2 quarts when all was said and done. I'll later cut the broth with a quart of boxed chicken broth. I had to use ALL of the following taré recipe to make up for it, but I had enough broth for everyone that wanted ramen and a certain amount of leftovers.

Taré
"The meaning of the term taré isn't consistent up and down Japan, but in Tokyo, where I learned about it, it is essentially Japanese barbecue sauce. At yakitori restaurants, places where they grill skewers of chicken over clean-burning bincho-tan charcoal, they brush the chicken with a slick of taré just as it finishes cooking. One of the coolest taré-making systems I've ever seen was at a yakitori joint in Japan where there was a channel underneath the grill funneling all the chicken drippings into a stone jar full of taré that was constantly being infused with grilled chicken drippings. (I imagined they replenished it with fresh soy, mirin, and sake the next day, boiled it, and returned it to its station.
"But in addition to its place of honor in the yakitori tradition,
taré is the main seasoning--the primary 'salt' component--in ramen shops, at least in Tokyo. Ramenyas have their own formulas for broth and their own recipes for taré. Broths are usually easy to figure out, because there's always a big pot bubbling away in plain view, with apples or leeks or whatever secret-ish ingredients a shop adds to it, but taré recipes are more mysterious because you rarely see them being made. Some places add dried scallops, others leave out the chicken bones.
"Ours is robust if simple, and it's a good way to put chicken trimmings or bones to use. Most ramen shops add the
taré to the bowl when the soup is being assembled to be served, but that always struck me as a Russian roulette way of seasoning a soup--too much, too little, too easy to screw up. So we season our broth with it beforehand, tasting carefully with each addition to strike the right balance."

  • 2 to 3 chicken backs, or the bones and their immediately attendant flesh and skin reserved from butchering 1 chicken (I picked up a pack of chicken bones at Savenor's and it was more than sufficient.)
  • 1 cup sake
  • 1 cup mirin
  • 2 cups usukuchi (light soy sauce)
  • Freshly ground black pepper

First time I used the Lodge Logic cast-iron pan I bought last fall.
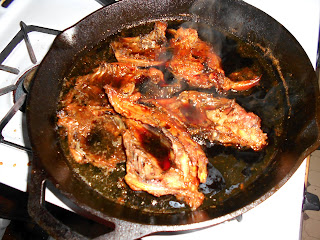

One hour at 450 degrees F.


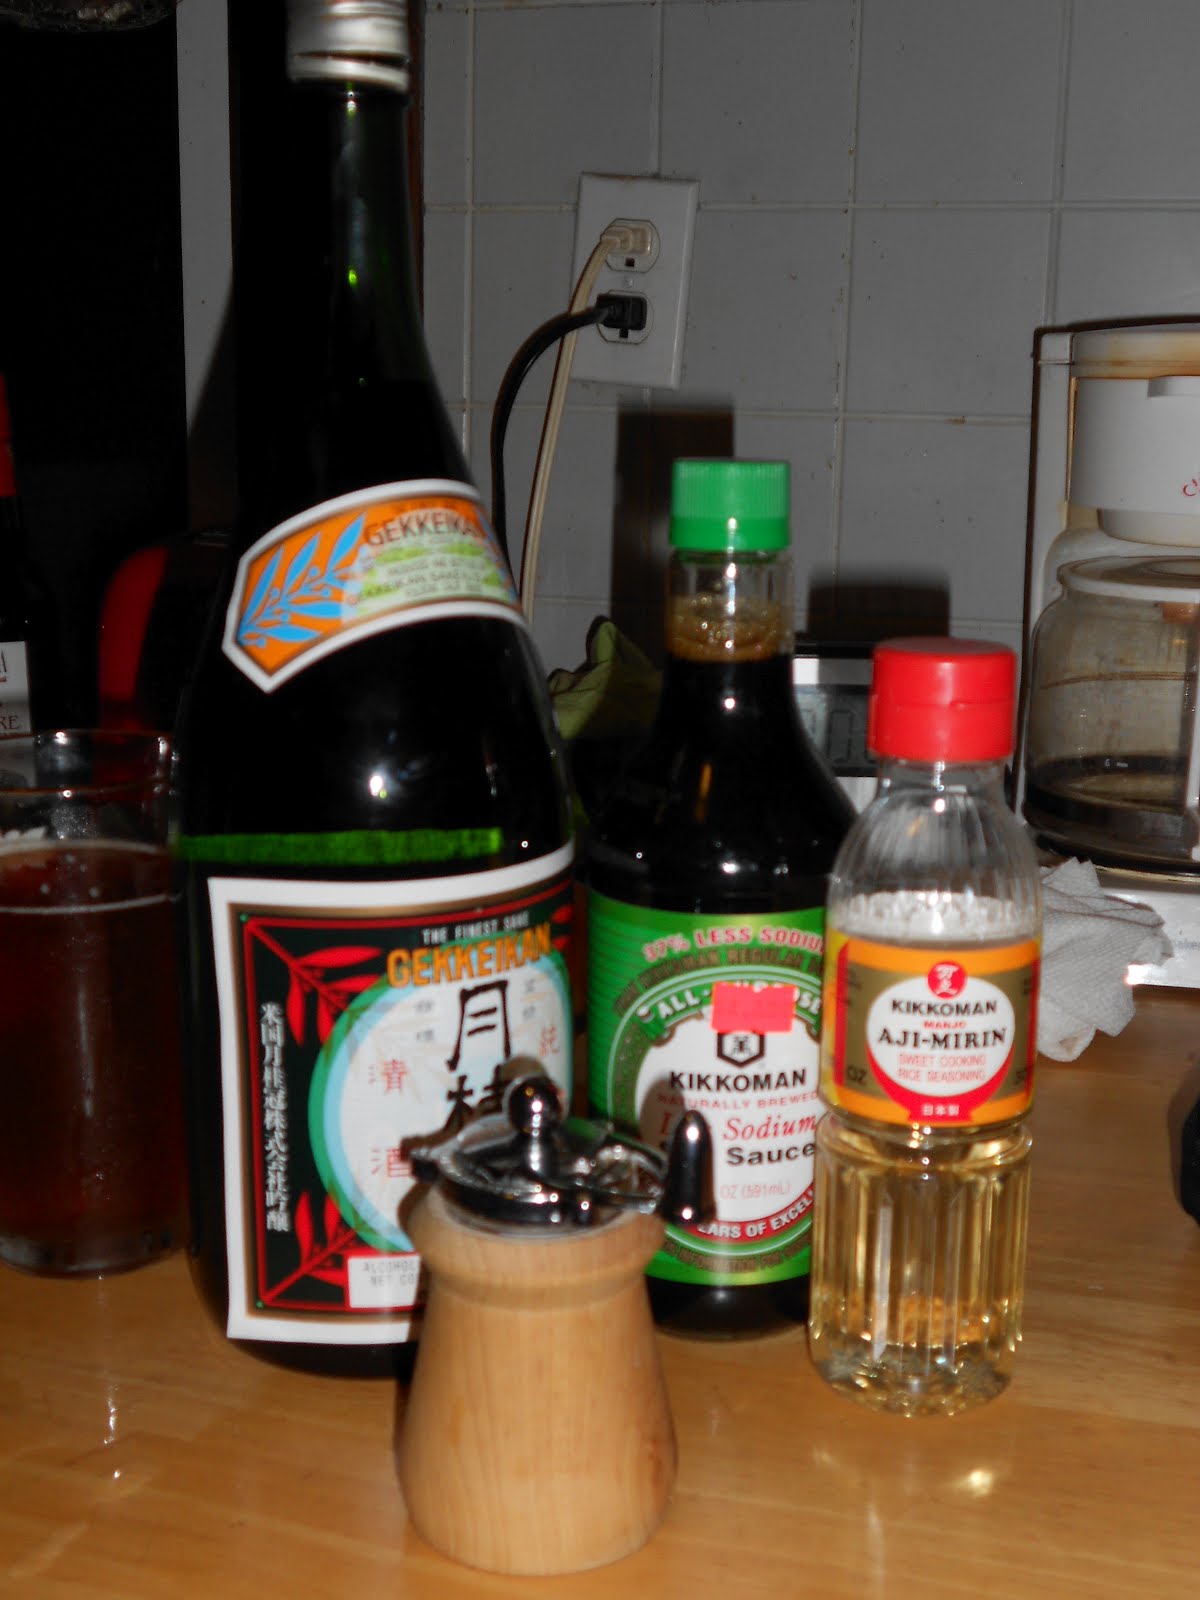
Mise en place.


Simmered for 1 hour on the stove-top.
Light years better than soy sauce and mirin. Dontcha think?


Prep list after Day 1 execution.