Showing posts with label pork belly. Show all posts

Saturday, September 29, 2012

Gula jawa and Sichuan Peppercorn Cured Bacon

from Zak Pelaccio's Eat with Your Hands:
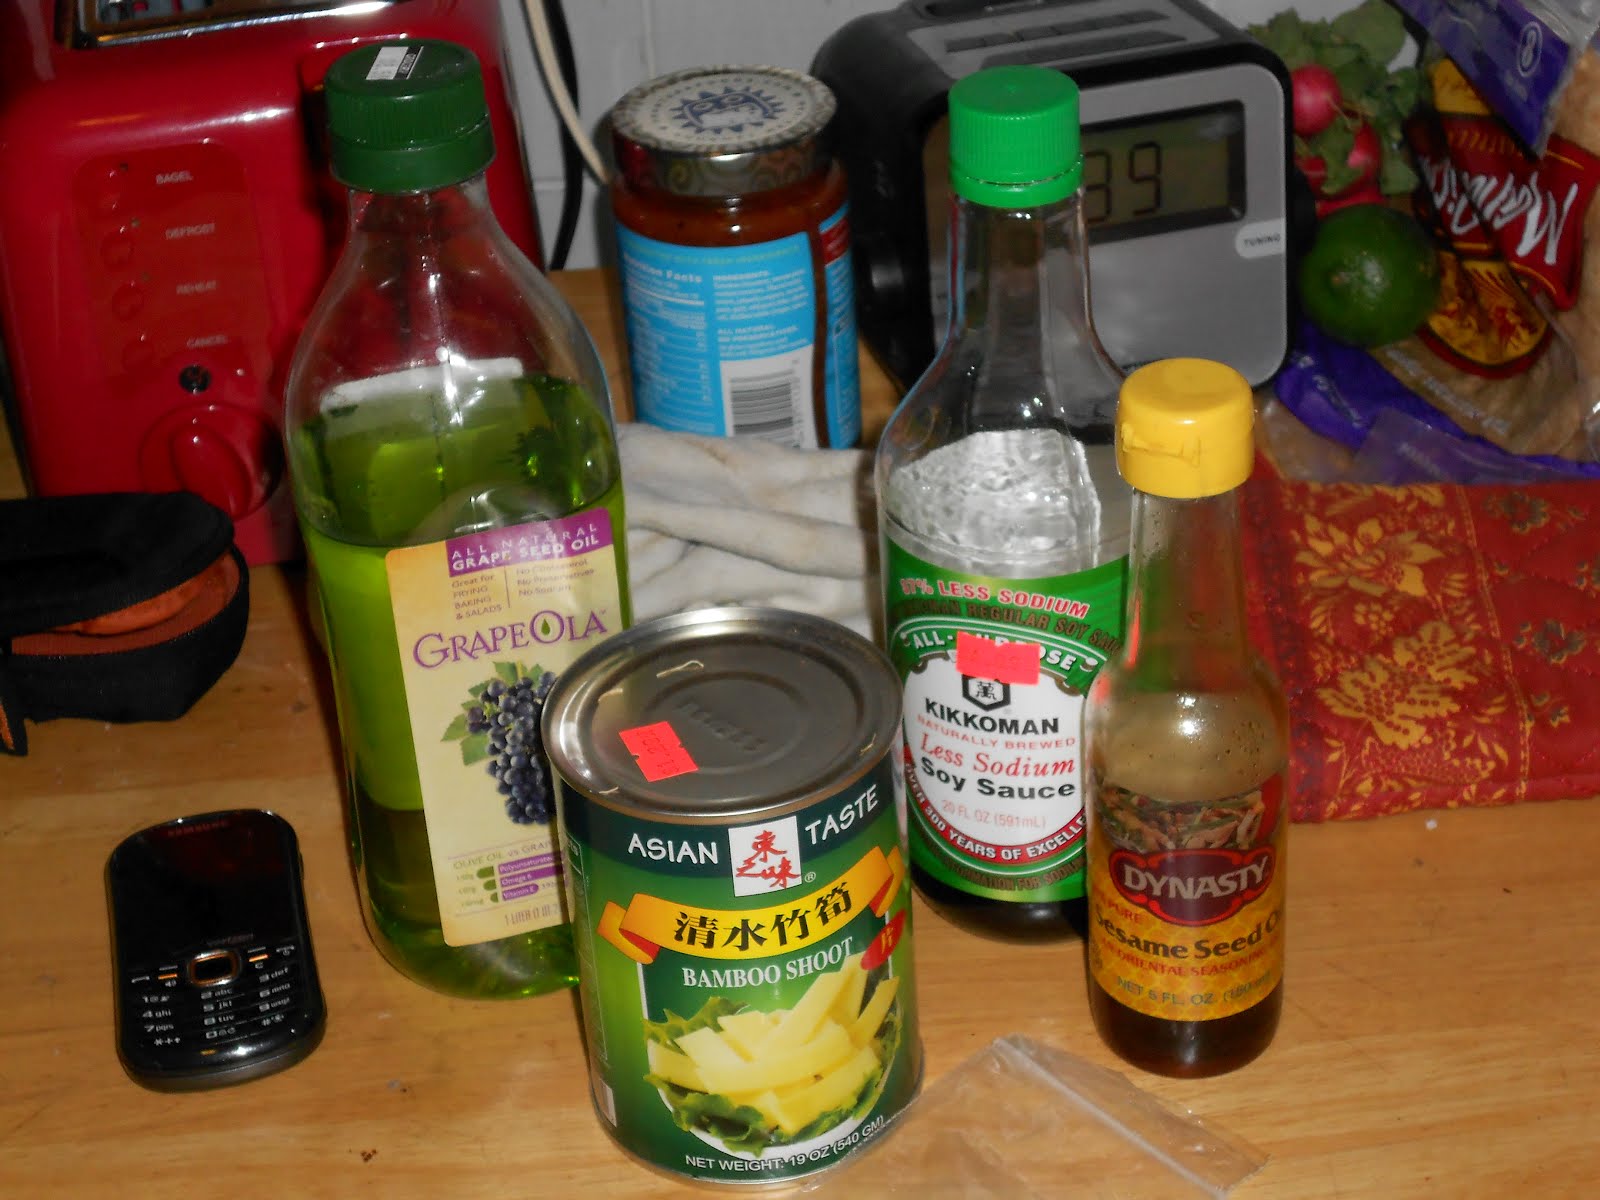
  • 6 ounces Sichuan peppercorns
  • 2 1/2 ounces whole black peppercorns
  • 1/2 pound kosher salt
  • 5 ounces palm sugar (3 1/3 rounds gula jawa) or 6 2/3 tablespoons brown sugar
  • One 12-pound Berkshire pork belly, skin removed [I got my hands on an 8-pound slab at Whole Foods]

Lots of peppercorns. Toast and grind them in batches.
Sichuan peppercorns are actually not peppercorns at all but is a member of the citrus family.


Gula jawa is at least according to Pelaccio and Wikipedia is supposed to be palm sugar. I bought something labelled gula jawa at Super 88 since it appeared to be a better value. However what I bought is made of coconut and cane sugar.

I seem to be doing a bit better when it comes to skinning this time around.

Though I got a bit sloppier with the fat caps toward the end.

Applying the cure.

Stacking them in the fridge to cure. Zak Pelaccio suggests 5 days; I assume waiting until next weekend won't hurt.

 
Hickory and cherry wood chips.  I never opened the bag of cherry ones.

 
Getting the smoker going.

The pork belly after being smoked for 6 hours.  It was disappointingly jiggly while I handled it (adding more chips or flipping it skin-side down for the last 2 hours).  Unlike my initial experience I achieved negligible moisture loss even after applying the old leftover cure I had.


All of it resulting in meat that at its thickest points are still pink and a fat cap that hasn't really experienced the magic.  All of those spices are very vague and skin-deep.
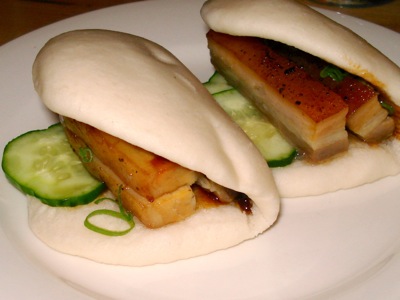
Might just do it Tom Mylan's way next time, but there's $50 worth of pork belly in the fridge I have to work through.  Some bits of it are still quite good.  Particularly the smoked meat.  Not so much the fat.


Monday, April 23, 2012

RAMEN! 2.2: Day 2 Prep

As I wait for my pictures to upload onto blogger for this entry, I may as well provide for you the one recipe everyone kept asking me for on Ramen Day (why not make it a proper noun by now): Pickled Shiitakes.
I made these as a relatively smart way of using up the shiitakes I had reconstituted while making Ramen Broth the night before. I assumed I wouldn't be able to utilize and eat them all myself so I decided to execute Momofuku's recipe. People loved them. I think they're fine, but I passed off the rest to my parents a few days ago.


Pickled Shiitakes

  • 4 loosely packed cups (about 1/3 ounce) dried shiitake mushrooms or use spent shiitake caps from the Ramen Broth)
  • 1 cup sugar
  • 1 cup usukuchi (light soy sauce)
  • 1 cup sherry vinegar
  • Two 3-inch knobs of fresh ginger, peeled
  1. Steep the shiitakes in boiling water (or really hot tap water) in a medium mixing bowl until softened, about 15 minutes.
  2. Lift the shiitakes from the steeping water, trim off and discard their stems, and cut the caps into 1/2-inch-thick slices. Reserve 2 cups of the steeping liquid, and pass it through a fine-mesh strainer to remove any sand or debris.
  3. Combine the reserved steeping liquid, the sugar, soy sauce, vinegar, ginger, and sliced shiitakes in a saucepan. Turn the heat to medium, bring to a simmer, and simmer gently (bubbles should lazily rise up to the surface), stirring occasionally, for 30 minutes. Let cool.
  4. Discard the ginger, and pack the shittakes (and as much of the liquid as necessary to cover them) into a quart container. These pickles are ready to eat immediately and will keep, refrigerated, for at least 1 month.
 

Pork Shoulder
  • 1 3-pound piece boneless pork shoulder
  • 1/4 cup kosher salt
  • 1/4 cup sugar

Cure for at least six and no more than 24 hours. Assumed I wasn't risking much by putting off curing until the broth was really chugging along.


Ready to roast at 250 degrees F for 6 hours.


Two hours in. Lots of juices to baste with.


The results after 6 hours. Eventually the juices developed into fond and I started de-glazing and basting with mirin.


Got the plan clean enough through some lengthy de-glazing. Nothing compared to final de-glaze that appeared to take me like a hour. More on that later.

Pork Belly
  • 1 3-pound slab skinless pork belly (God damn you, Whole Foods butchers. Couldn't I have had a whole 3-pound slab?)
  • 1/4 cup kosher salt
  • 1/4 cup sugar

Perhaps they would have skinned it for me if I asked, but hell, it's an experience. I also realized I had the potential to make
But not if that entailed staying up until dawn again. Perhaps when I try my hand at making bacon I'll bother to do so.


Skinned pork belly. it would've been so much more bad-ass if it was just one big slab.
I lightly cut my left pointer finger in the transaction, but washed up with anti-bacterial soap and slapped on some latex gloves.


Thirty minutes at 450 degrees F.


Another 30 minutes at 450 degrees F.


One hour to 1 hour 15 minutes at 250 degrees F. Look at all that golden jelly.


The state my quarter-sheet cake pan is now in. Sigh.

Bamboo Shoots
  • One 12-ounce can sliced bamboo shoots
  • Splashes of grapeseed and Asian sesame oils
  • Splash of usukuchi (light soy sauce)
  • 1 Pickled Chile, if you've got it, seeded and chopped
  • Salt, possibly

Mise en place.

Day 2 Prep list. Time for bed.

Wednesday, March 14, 2012

Momofuku Pork Buns

Typed up these recipes for Karen M. to execute for the Ramen party she is kindly hosting for me next month. I'll be making the pork belly as well for the Ramen, but if Karen needs any help with this steamed buns (Karen, you can probably buy these at Super 88, too.) I can probably squeeze it into my prep schedule.
In any case David Chang's pork buns are served at all his restaurants: Noodle Bar, Ssam Bar, Milk Bar, Ma Peche, nearly brand-new Booker and Dax, and I have to believe they must have them at tasting menu, on live reservation only, single daily seating Ko (probably one of the top 5 most difficult to get into NYC restaurants). I've had them only a couple times, but they are quite good.

Also, hopefully, I'll have a guest entry from Karen when the event nears.


momofuku pork buns
serves 1
(from Momofuku)
  • 1 Steamed Bun (recipe to follow)
  • About 1 tablespoon hoisin sauce
  • 3 or 4 slices Quick-Pickled Cucumbers
  • 3 thick slices Pork Belly
  • 1 scant tablespoon thinly sliced scallion (green and white)
  • Sriracha, for serving
  1. Heat the bun in a steamer on the stovetop. It should be hot to the touch, which will take almost no time with just-made buns and 2 to 3 minutes with frozen buns.
  2. Grab the bun from the steamer and flop it open on a plate. Slater the inside with the hoisin sauce, using a pastry brush or the back of a spoon. Arrange the pickles on one side of the fold in the bun and the slice of pork belly on the other. Scatter the belly and pickles with sliced scallion, fold closed, and voilĂ : pork bun. Serve with sriracha.

steamed buns makes 50 buns

"Okay, fifty buns is a lot of buns. But the buns keep in the freezer for months and months without losing any quality, and if you cut the recipe down any more than this, there's barely enough stuff in the bowl of the mixer for the dough hook to pick up. So clear out a couple hours and some space in the freezer and get to work."

  • 1 tablespoon plus 1 teaspoon active dry yeast
  • 1 1/2 cups water, at room temperature
  • 4 1/2 cups bread flour
  • 6 tablespoons sugar
  • 3 tablespoons nonfat dry milk powder
  • 1 tablespoon kosher salt
  • Rounded 1/2 teaspoon baking powder
  • 1/2 teaspoon baking soda
  • 1/3 cup rendered pork fat or vegetable shortening, at room temperature, plus more for shaping the buns, as needed
  1. Combine the yeast and the water in the bowl of a stand mixer outfitted with the dough hook. Add the flour, sugar, milk powder, salt, baking powder, baking soda, and fat and mix on the lowest speed possible, just above a stir, for 8 to 10 minutes. The dough should gather together into a neat, not-too-tacky ball on the hook. When it does, lightly oil a medium mixing bowl, put the dough in it, and cover the bowel with a dry kitchen towel. Put it in a turned off oven with a pilot light or other warmish place and let rise until the dough doubles in bulk, about 1 hour 15 minutes.
  2. Punch the dough down and turn it out onto a clean work surface. Using a bench scraper or a knife, divide the dough in half, then divide each half into 5 equal pieces. Gently roll the pieces into logs, then cut each log into 5 pieces, making 50 pieces total. They should be about the size of a Ping-Pong ball and weigh about 25 grams, or a smidge under an ounce. Roll each piece into a ball. Cover the armada of little dough balls with a draping of plastic wrap and allow them to rest and rise for 30 minutes.
  3. Meanwhile, cut out fifty 4-inch squares of parchment paper. Coat a chopstick with whatever fat you're working with.
  4. Flatten one ball with the palm of your hand then use a rolling pin to roll it out into a 4-inch-long oval. Lay the greased chopstick across the medium of the oval and fold the oval over onto itself to form the bun shape. Withdraw the chopstick, leaving the bun folded, and put the bun on a square of parchment paper. Stick it back under the plastic wrap (or a dry kitchen towel) and form the rest of the buns. Let the buns rest for 30 to 45 minutes: they will rise a little.
  5. Set up a steamer on the stove. Working in batches so you don't crowd the steamer, steam the buns on the parchment squares for 10 minutes. Remove the parchment. You can use the buns immediately (reheat them for a minute or so in the steamer if necessary) or allow to cool completely, then seal in plastic freezer bags and freeze for up to a few months. Reheat frozen buns in a stovetop steamer for 2 to 3 minutes, until puffy, soft, and warmed all the way through
pork belly for ramen, pork buns, & just about anything else
MAKES ENOUGH PORK BUNS FOR 6 TO 8 BOWLS OF RAMEN OR ABOUT 12 PORK BUNS
  • One 3-pound slab skinless pork belly
  • 1/4 cup kosher salt
  • 1/4 cup sugar
  1. Nestle the belly into a roasting pan or other oven-safe vessel that holds it snugly. Mix together the salt and sugar in a small bowl and rub the mix all over the meat; discard any excess salt-and-sugar mixture. Cover the container with plastic wrap and put it into the fridge for at least 6 hours, but no longer than 24.
  2. Heat the oven to 450˚F.
  3. Discard any liquid that accumulated in the container. Put the belly in the oven, fat side up, and cook for 1 hour, basting it with the render fat at the halfway point, until it's an appetizing golden brown.
  4. Turn the oven temperature down to 250˚F and cook until the belly is tender--it shouldn't be falling apart, but it should have a down pillow-like yield to a firm finger poke. Remove the pan from the oven and the mea juices from the pan and reserve (I'm guessing this is the fat one would use in making the steamed buns.). Allow the belly to cool slightly.
  5. When it's cool enough to handle, wrap the belly in plastic wrap or aluminum foil and put it in the fridge until it's thoroughly chilled and firm. (You can skip this step if you're pressed for time, but the only way to get neat, nice-looking slices is to chill the belly thoroughly before slicing it.)
  6. Cut the pork belly in to 1/2-inch-thick slices that are about 2 inches long. Warm them for serving in a pan over medium heat, just for a minute or two, until they are jiggly soft and heated through. Use at once.

quick salt pickles, master recipe
MAKES ABOUT 2 CUPS

Halve or double the recipe as needed.

  • Vegetable, prepared as indicated
  • 1 tablespoon sugar, or more to taste
  • 1 teaspoon kosher salt, or more to taste
  1. Combine the vegetable with the sugar and salt in a small mixing bowl and toss to coat with the sugar and salt. Let sit for 5 to 10 minutes.
  2. Taste: if the pickles are too sweet or too salty, put them into a colander, rinse off the seasoning and dry in a kitchen towel. Taste again and add more sugar or salt as needed. Serve after 5 to 10 minutes, or refrigerate for up to 4 hours.
quick-pickled cucumbers: 2 meaty kirby cucumbers, cut into 1/4-inch-thick disks.